Assembly - 2
|
|||
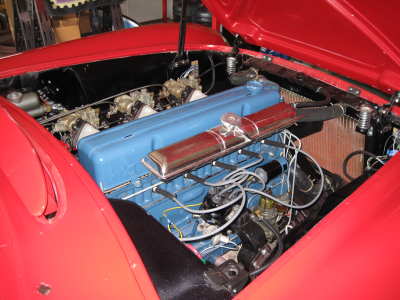
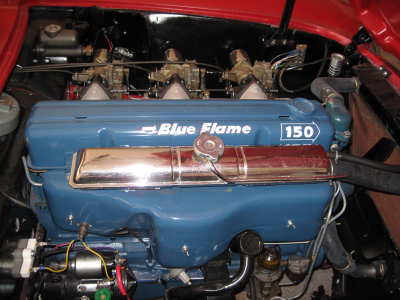
| Detailing the engine. The engine has sat idle during the restoration process (nearly 5 years). I flushed and refilled all fluids, reset the timing, added new wires and engine mounted assemblies. I rebuilt the sidedraft carburetors, starter, water pump, fuel pump and generator. The distributor was replaced with a correct tach drive distributor. Once fired to verify the engine was in running condition, I put on the final do-dads, many of which are noted characteristics of the 54. One such characteristic is the engine shielding which covers the right side of the engine. Another notable touch is the breathers on the three carbs. My 54 is a late 54 and should include a breather assembly with two pot style air breathers. Not having the assembly I chose to use the individual bullet breathers characteristic of the early 54s. And last but not least - the name. The 54 engine is affectionately called the Blue Flame Six. And is so labled on the valve cover. If it were any prettier I'd have to call it jewelry. | |||
|
|||
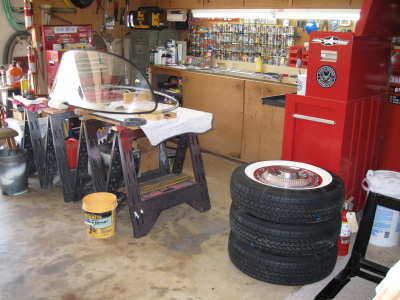
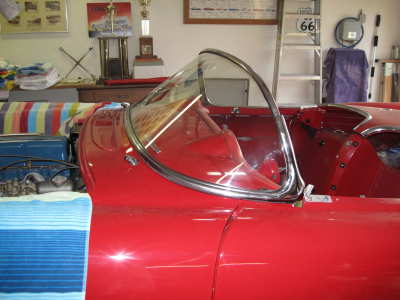
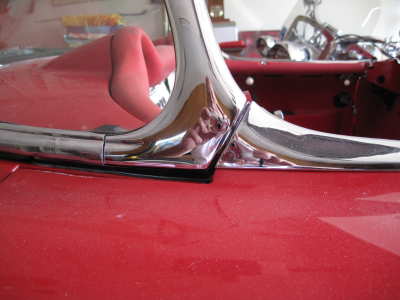
| I took the windshield totally apart. Several of the stainless trim pieces needed work and I wanted to improve the fit. I cleaned the glass and mounting rubber. ** My miracle cleaner (kerosene) took the old silicone off the rubber and revitalized it. After repairing all the trim I marked the center of the windshield, rubber, top and bottom channels and trim so it would be properly aligned when finally assembled. Using the Kerosene to clean the - rubber made it easy to reassemble. I had to shim the end posts to get proper alignment with the door top trim. | |||
|
|||
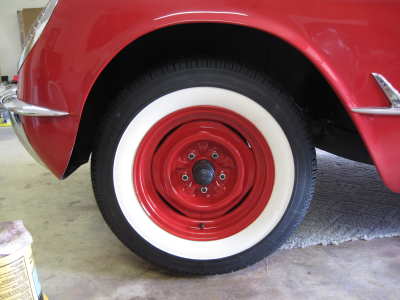
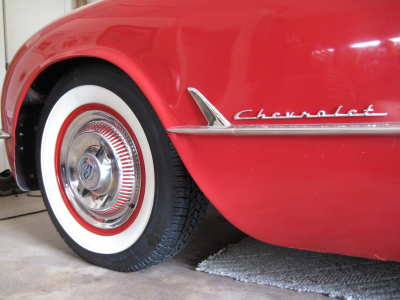
| In case you've wondered why I have abused the old tires during the total rebuild process - its because I always planned to replace them. To do this I stripped off the old tires and threw them away. I then sent the bare wheels to have them sandblasted and powder coated. Even though only the tire bead shows once the hubcaps are on I wanted them to be like new. My powder coater did a good job matching the 54 Red. The hubcaps were in very good condition. No dents and no significant scratches to deal with. The only touch up they needed was to repaint the red trim around the centercap and the blue behind the Chevy bowtie in the shield. For this I relied on my friend and pin striper, Dan Gay (Dan' the man). |

Detail
 |
 |
|
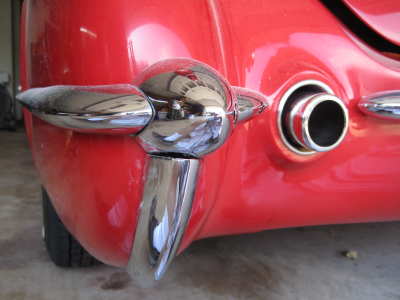
The bumper trim is very light, following the European model. I was able to accomplish alignment of these assemblies by filing the mounting holes and giving attention to their mounts. Note the exhaust extension which penetrates the rear body. Neat touch on a 54. |
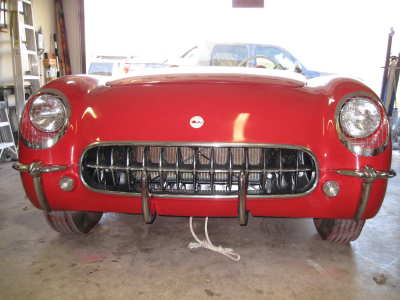
Like the rear - the front bumpers, bumperetts and grill are light touches. The only bumper supported by any frame bracing is the rear center horizontal bumper. All other are attached directly to the fiberglass body. Not very functional but very stylish (very important). |
Click Here to jump to Interior Assembly