|
The Stripping
Process
I use a
Chemical Stripper (Kleen Strip Aircraft Stripper) - this process
requires CAUTION.
This product is very caustic - it will burn you if you get it on your
skin - so keep a supply of fresh water close by. It will also take
your breath if you inhale it - so only perform this process in a well
ventilated area, and don't breath over any container containing the stripper
- PS; a cloth mask won't help.
It is a good idea to lay down a
drop cloth - otherwise you will end up with a lot of paint on your garage
floor.
Jump to How Its Done |
 |
The Vet body has
been totally disassembled - to the bare shell. Now all of the
original paint must be removed. This is when you find out the real
condition of the body and the skill and competency of anyone who has
worked on it previously. It is my opinion you can't achieve a
proper paint job without completely stripping the old paint. With
this car it is very obvious - the old paint is very thick and starting
to pop crack and pop off in places. |
|
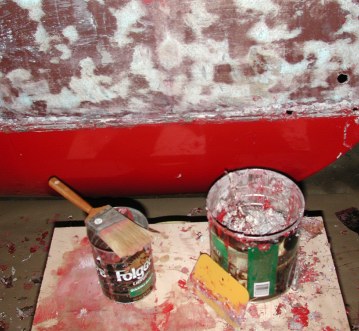
Tools
Stripper
Paint Brush
Plastic Bondo Spreader
Coffee Cans
Rubber Gloves
Don't paint the Stripper - just spread it with the
brush ( once applied to the painted surface - it doesn't need to be
worked in). The brush must be a natural bristle brush - the
stripper will melt a cheap brush. The plastic spreader is used to
scrape the stripped paint off the body's surface. Being plastic -
it doesn't cut into the body and it can be bent easily to conform to
the body's contours. |
 |
|