Stripping the Paint
Stripping the Top Coats and Primers
 |
 |
 |
|
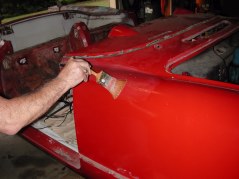
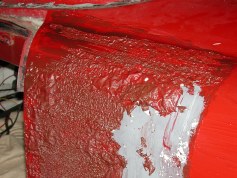
Spread on the Stripper with a paint brush |
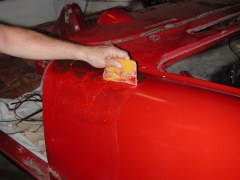
Use the Spreader like a Squeege |
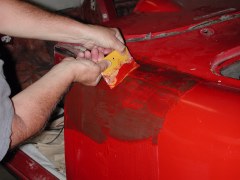
Remove ALL the Color Coat this way |
 |
 |
 |
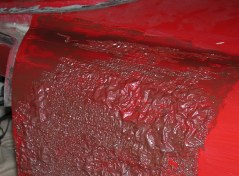
| The Color Coat liquefies - the Primer blisters | Be patient - let the stripper do its job | Repeat this process until you see bare glass |
Stripping the Base Primers
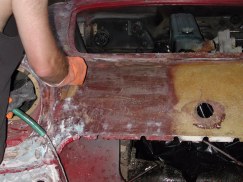
If you haven't used Gloves to this point - you'll need them for the final process
 |
 |
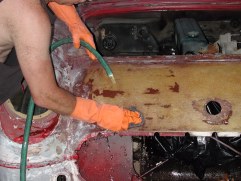 |
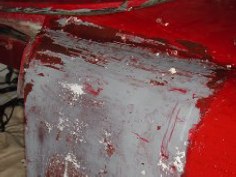
| Apply the stripper as usual | Scrub the stripper with steel wool | Flush the area with Water |
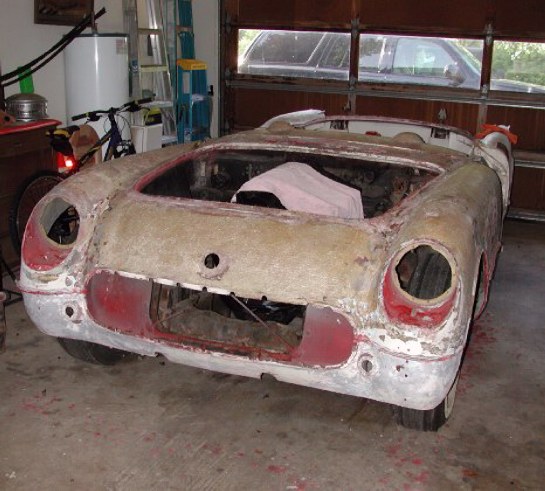
The Naked Body
 |
You must use "Lotsa"
water (that's Texan for "a lot of water") to deactivate and flush the
stripper. Residual stripper will ruin any paint job to follow.
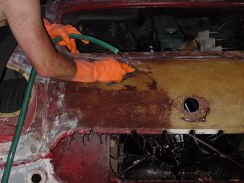
The Glass on a 54 is very different from the later years - it is very coarse - the fibers are exposed and there are a lot of pits in it. These bodies were hand laid - not pressure formed. The white areas appear to be factory filler. The stripper will take this off if you wish - I don't think it is advised - you'll just have to replace it. At this point you put down the Stripper and pick up the sand paper. With the paint removed - all the body damage and repair are exposed. I was pleased to discover the only damage to my 54 was an area just behind the left wheel. Although not done to the best of standards - it is recoverable with a little more work and TLC.
|